Monogram Beach Tote
I have seen these darling monogrammed beach totes all over Etsy and always wanted one, but I always felt too intimidated to DIY. Yes, I’m sure it’s hard to believe that some crafts feel out of my league. Then, one day, I saw another gal painting her own. I thought if she can do it, so can I. Let me tell you; I was not disappointed. It was so easy and fast, not to mention it saved me about $100!! I almost immediately ran to the craft store to pick up the supplies.

Tools:
Paint brushes
Two colors of Paint. I used silver marlin and oyster white, but you can use any 2 colors you want.
Stencils
Stencile tape
Straw bag
Ruler
Picking the perfect straw bag is key. The surface cannot be too rough, so the paint can lay flat. It’s also important that the weave of the bag is tight so there are no gaping holes. Here are a few I would recommend #1, #2, #3, #4, #5, and #6.


To start, lay the bag down flat on a table.
Measure out the center of the bag and placed my middle stencil.
Place the other two stencils on both sides of that and then placed tape on top and bottom of the stencils.

Put some paint onto a small plate and start to paint in the letters
Use the center letter as a guide to layout the stripes going up the bag.
Layout the tape and measure to make sure the distance is equal.

Use the same color as my monogram to paint the middle stripe.
Let it dry for a bit before painting the other stripe.
Once dry, remove the tape and measured out the outer stripes and tape them off.
Carefully paint them a different color than the middle stripe and allow to dry.

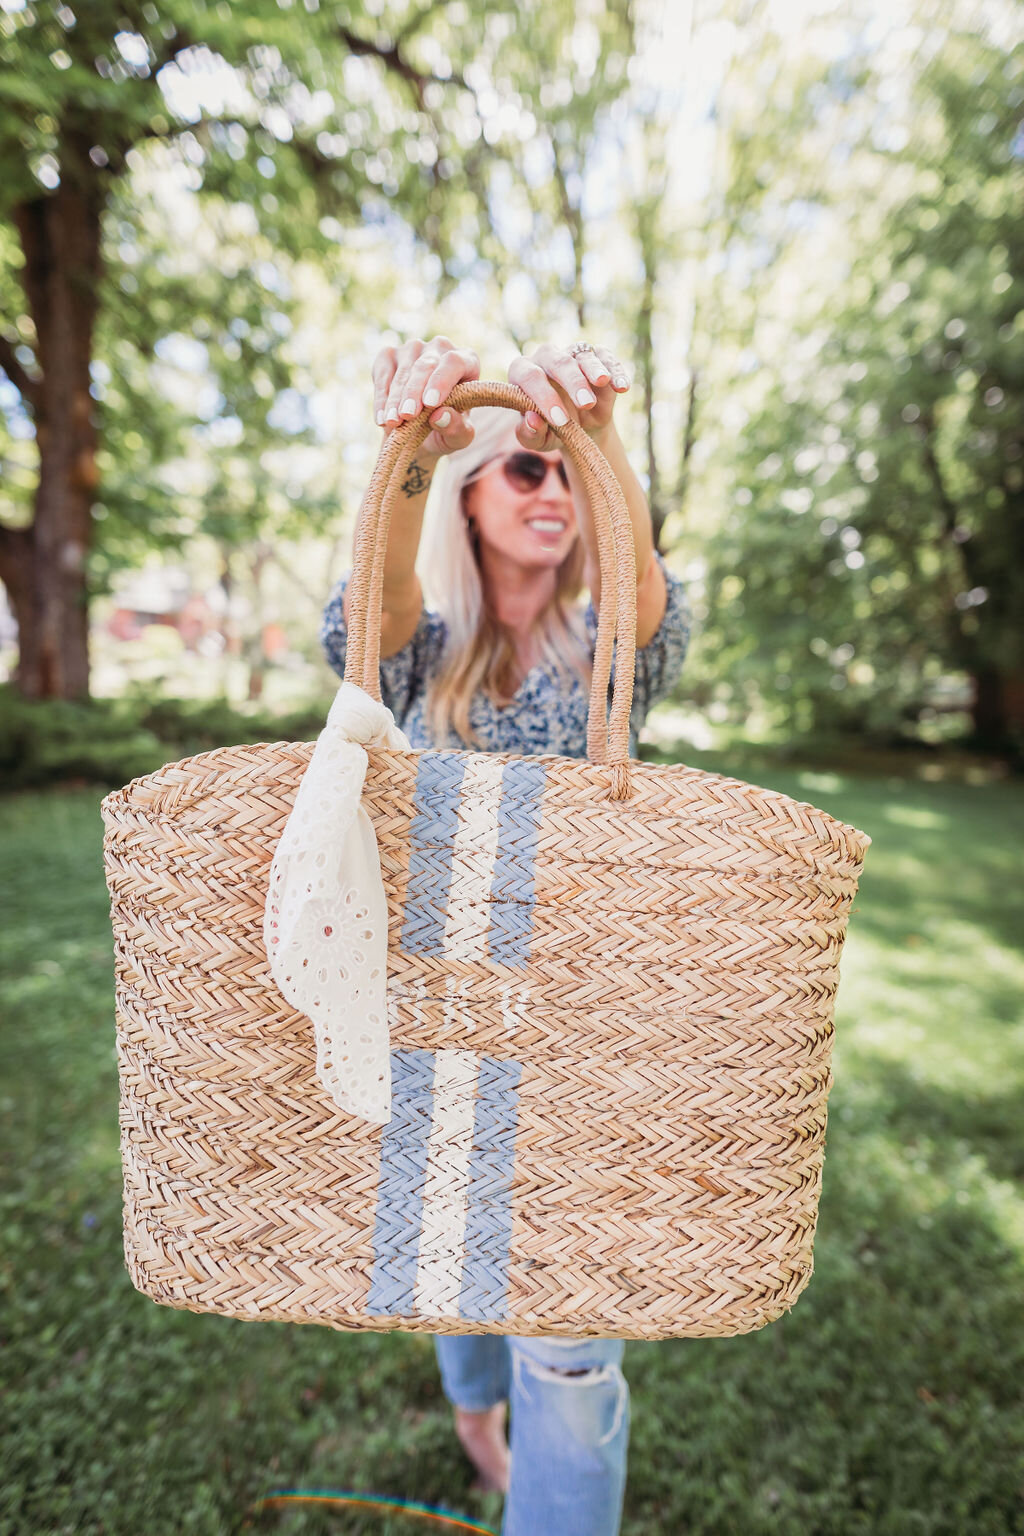
Remove all tape, add a cute tassel or scarf, and she is ready for her debut. I'm telling you, it was just so darn easy. I made two more for an upcoming trip with my girlfriends and am now scheming what else I should monogram; the options are endless!

Cheers Babes
XOXO